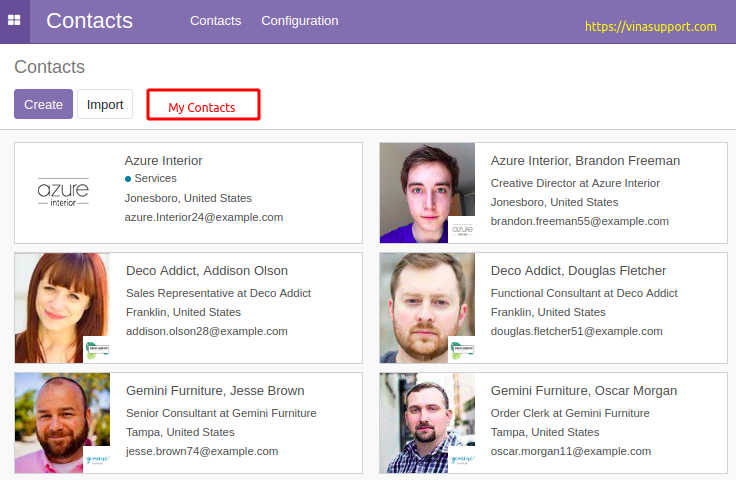
Trong bài trước, tôi đã hướng dẫn cách tạo một module có tên My_Contacts, mà bạn thừa hưởng từ module sẵn có trên Odoo là Contacts. Bây giờ, chúng ta sẽ tạo một nút (button) trên trang quản lý contacts của module Contacts và liên kết nó đến trang My_Contacts mà chúng ta vừa tạo.
Chúng ta sẽ đặt nút này giữa hai nút là “Create” và “Import” trên trang Contacts (giao diện Tree View Header).

Bước 1: Tạo 1 file xml ở thư mục views/my_contact_view.xml có nội dung như sau:
<odoo>
  <data>
    <record model="ir.actions.act_window" id="my_contacts_action_window">
      <field name="name">My Contacts Window</field>
      <field name="res_model">res.partner</field>
      <field name="type">ir.actions.act_window</field>
      <field name="view_type">form</field>
      <field name="view_mode">kanban,tree,form,activity</field>
    </record>
  </data>
</odoo>
Nó định nghĩa 1 action có id là: my_contacts_action_window
Bước 2: Tạo 1 file static/src/xml/tree_view_button.xml để hiển thị button có tên là “My Contacts”
<?xml version="1.0" encoding="UTF-8"?>
    <template id="my_contacts_template" xml:space="preserve">
          <t t-extend="KanbanView.buttons">
            <t t-jquery="button" t-operation="after">
                <button t-if="widget.modelName == 'res.partner'" class="btn btn-primary my-contacts-button" type="button">My Contacts</button>
            </t>
          </t>
    </template>
Bước 3: Tạo 1 file static/src/js/tree_view_button.js để lắng nghe sự kiện click vào button “My Contacts”
odoo.define('my_contacts.menu.tree', function(require) {
    "use strict";

    var KanbanController = require("web.KanbanController");
    var ListController = require("web.ListController");
    var includeDict = {
        renderButtons: function () {
            this._super.apply(this, arguments);
            var self = this;
            self.$buttons.on('click', '.my-contacts-button', function () {
                self._rpc({
                    route: '/web/action/load',
                    params: {
                        action_id: 'my_contacts.my_contacts_action_window',
                    },
                })
                .then(function(r) {
                    console.log(r);
                    return self.do_action(r);
                });
            });
        }
    };

    KanbanController.include(includeDict);
    ListController.include(includeDict);
});
Bước 4: Tạo 1 file views/tree_view_asset.xml để load file tree_view_button.js mà ta vừa tạo
<?xml version="1.0" encoding="utf-8"?>
<odoo>
      <data>
            <template id="assets_backend" name="tree view menu" inherit_id="web.assets_backend">
                  <xpath expr="." position="inside">
                        <script type="text/javascript" src="my_contacts/static/src/js/tree_view_button.js"></script>
                  </xpath>
            </template>
      </data>
</odoo>
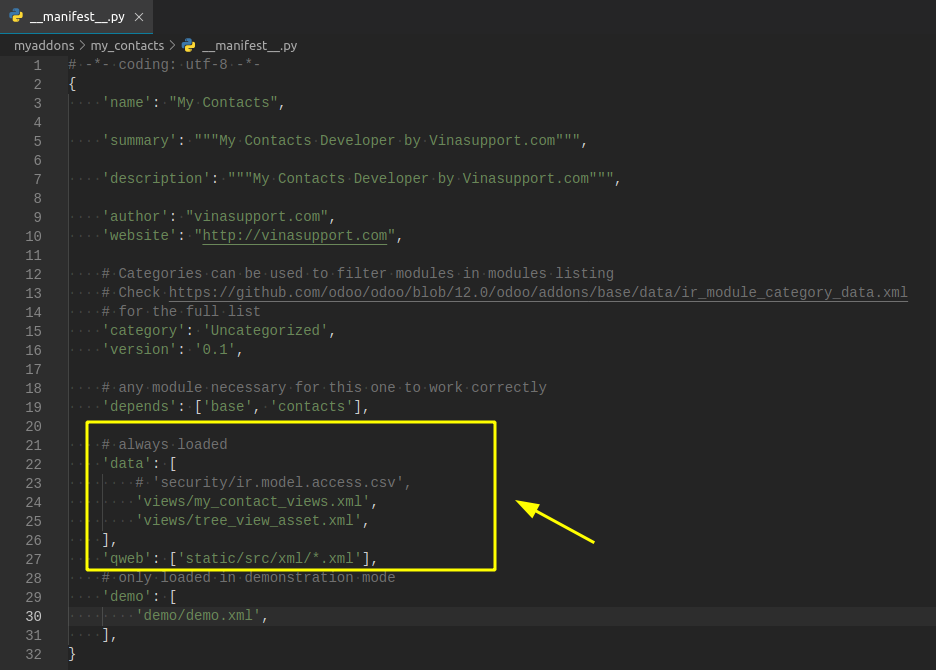
Bước 5: Load các file xml này vào file __manifest__.py

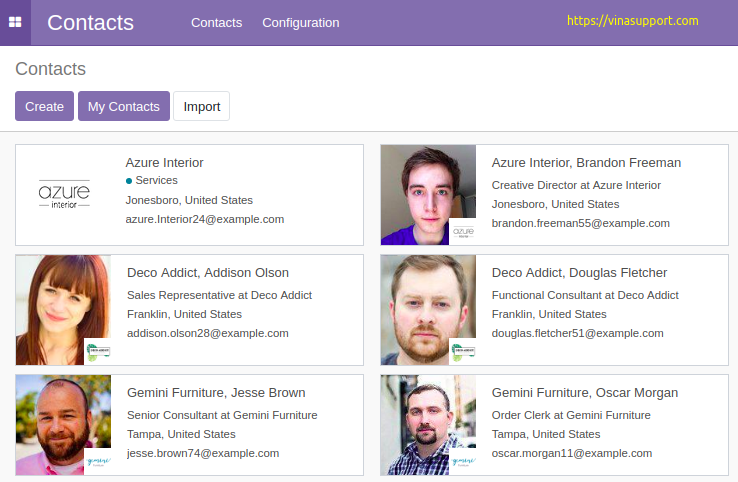
Kết quả:


